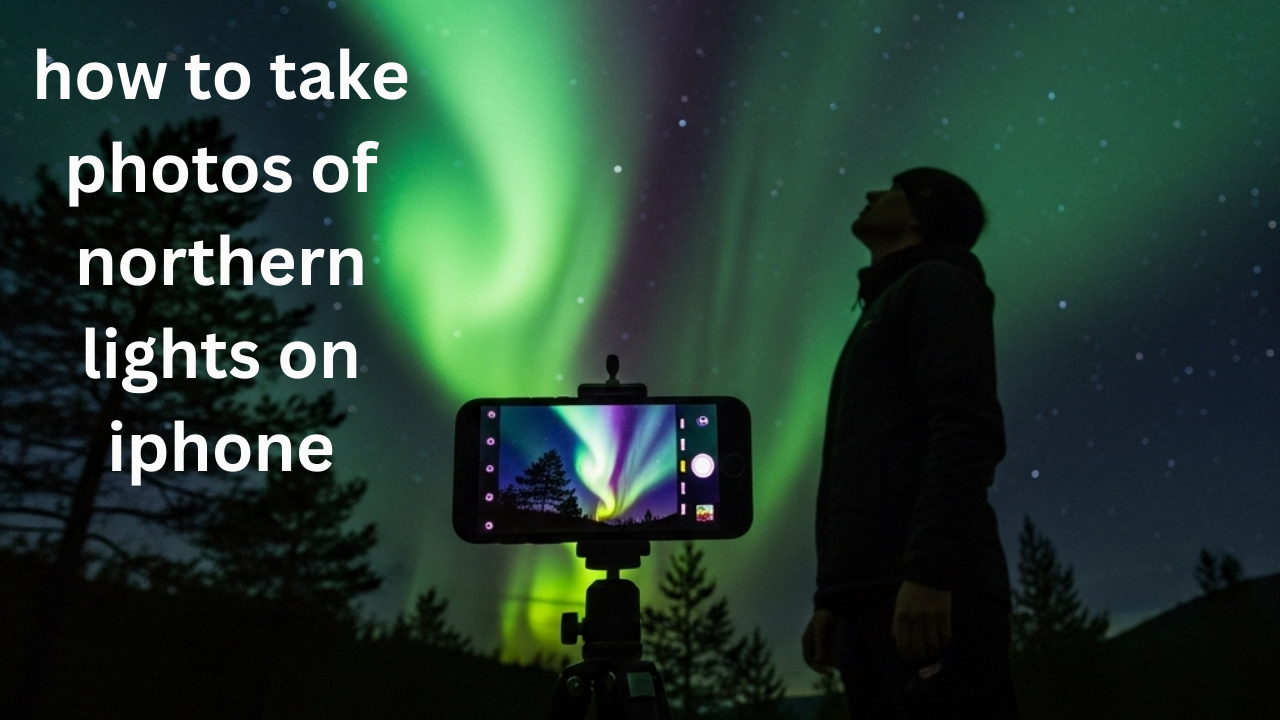
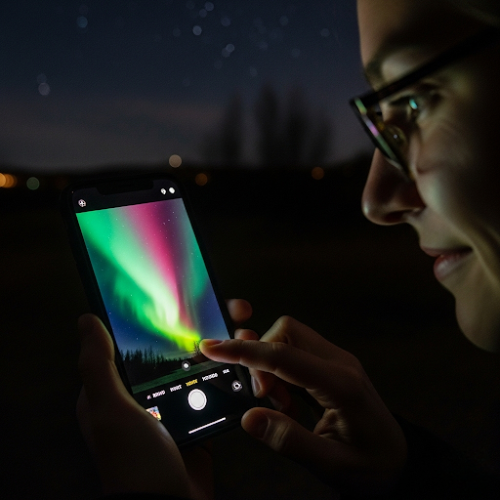
Photographing the northern lights has always been a dream of mine. Living in the USA, it’s not an everyday occurrence, but during a recent trip to Alaska, I finally had my chance. I was armed with my trusty iPhone and a whole lot of hope. I quickly learned that capturing those stunning auroras with just my phone takes a bit more than pointing and shooting.
My First Attempt and What I Learned
My first night, I was so excited I just opened my camera app and snapped away. The results? Blurry green smudges. Definitely not the breathtaking photos I’d seen online. That’s when I realized I needed to understand a few key things to make this work. It’s not as simple as taking a daytime photo. The northern lights are relatively dim, and your iPhone needs to work a little harder to capture them properly in the dark.
Essential Steps for Capturing the Aurora on iPhone
Through trial and error, and a little bit of research, I found a method that really helped me capture the beauty of the northern lights. Here’s what I did, step by step:
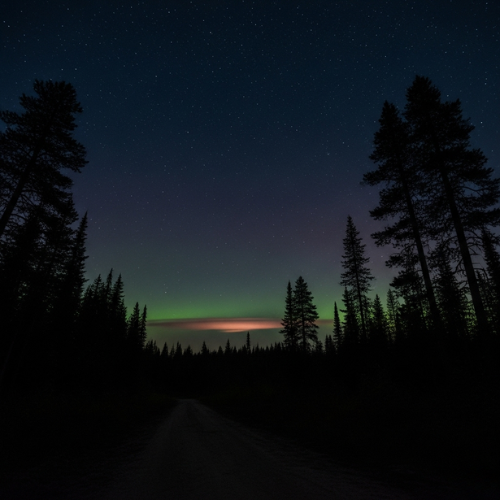
Find a Dark Location: This is absolutely crucial. You need to get away from city lights as much as possible. Light pollution will wash out the faint glow of the aurora. I ventured a bit outside of Anchorage to find a spot with a clear, dark sky.
Here is the screenshot of this step:
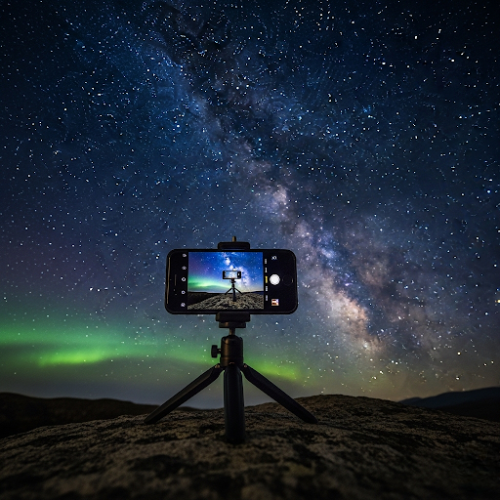
Use a Tripod (or Something Stable): Because your iPhone will need to take longer exposures to capture enough light, any movement will result in blurry photos. A tripod is ideal, but even leaning your phone against a steady surface like a rock or a fencepost can make a huge difference. I ended up using a small portable tripod I luckily packed.
Here is the screenshot of this step:
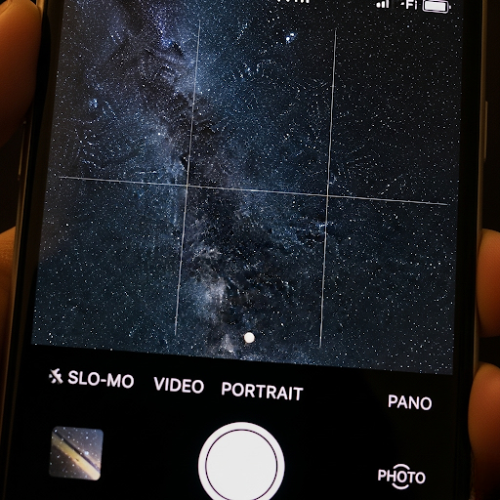
Open the Native Camera App: While there are many great camera apps out there, I found the built in iPhone camera app to be perfectly capable with the right settings.
Here is the screenshot of this step:
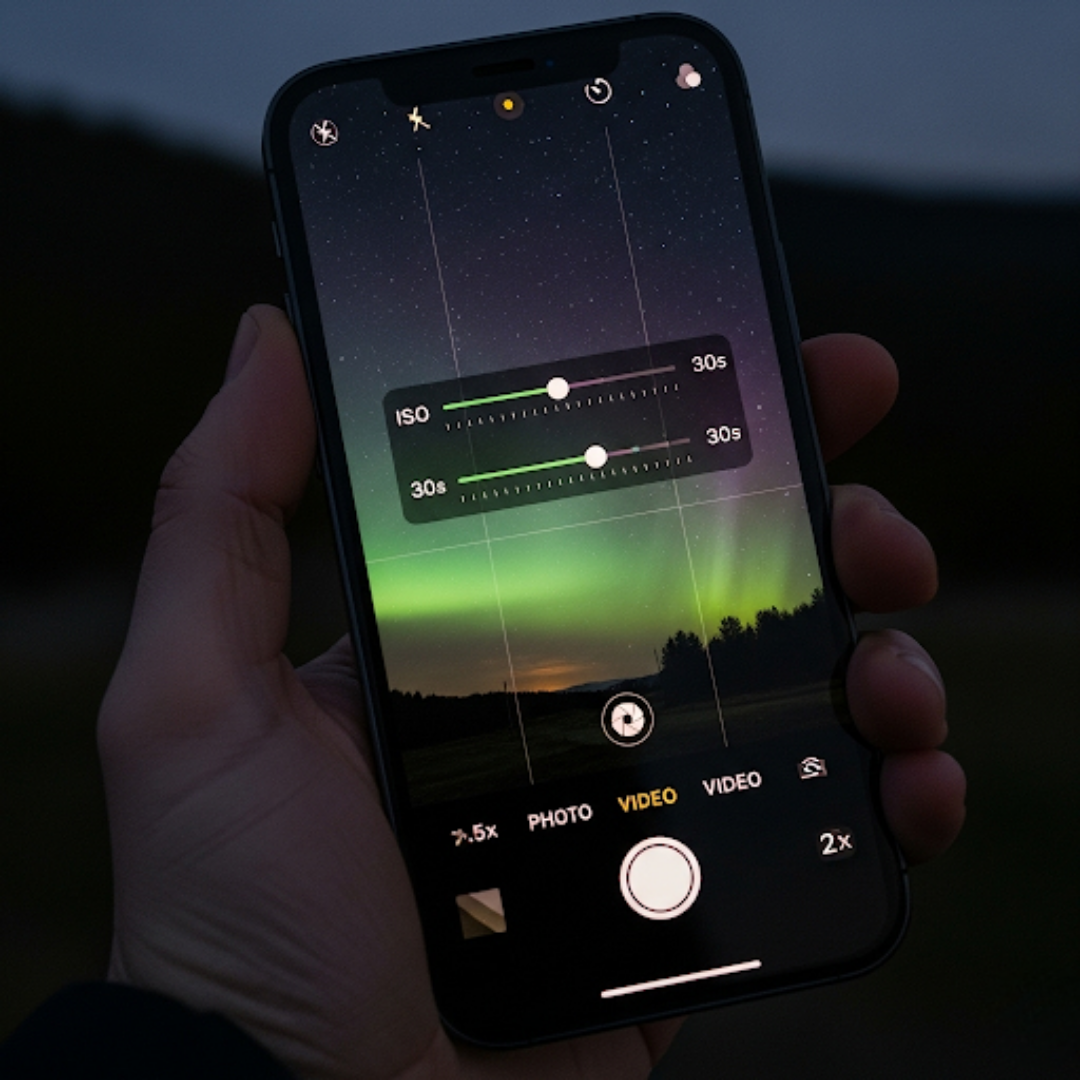
Adjust Exposure Settings (Manual is Key): This is where the magic happens. You’ll need to manually adjust the exposure settings to let in more light. Here’s how I did it:
Here is the screenshot of this step:
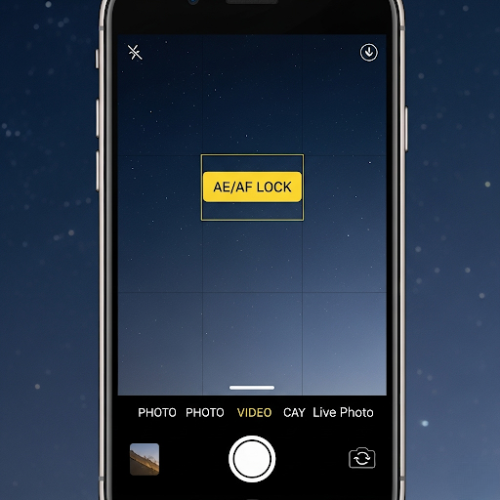
Tap and Hold to Lock Focus and Exposure: Open your camera app and tap and hold on a darker area of the sky. This will usually lock the focus and initial exposure. You’ll see an “AE/AF Lock” notification.
Here is the screenshot of this step:
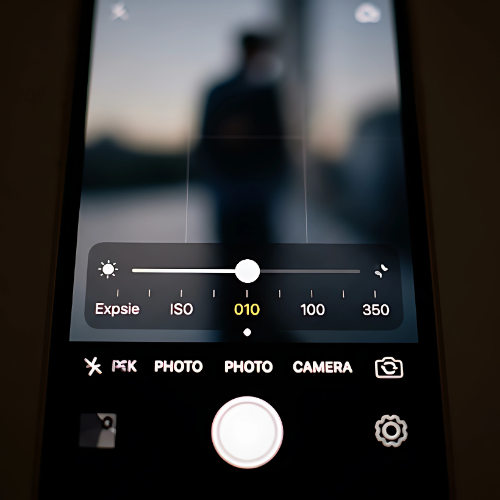
Manually Adjust Exposure: After locking, a sun icon will appear next to the focus box. Swipe up on this icon to increase the exposure (make the image brighter). You’ll need to experiment here, but I found that going significantly brighter than the default was necessary.
Here is the screenshot of this step:
Increase the Night Mode Exposure (If Available): If your iPhone has Night mode (iPhone 11 and later), it will automatically try to brighten the scene. When Night mode activates (you’ll see a yellow icon at the top), tap on it. A slider will appear above the shutter button. Increase this slider to the maximum or near maximum setting. This tells your iPhone to take the longest possible exposure in Night mode.
Here is the screenshot of this step:

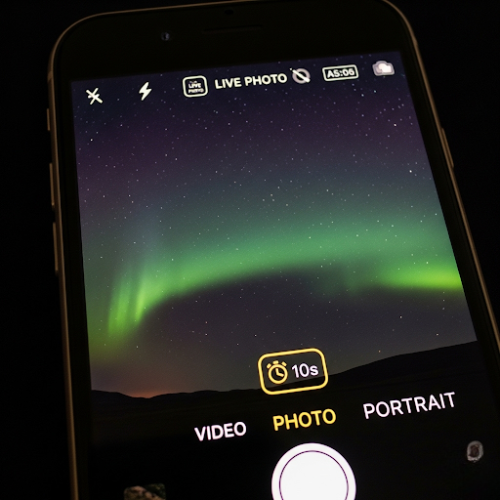
Consider a Timer: Even with a tripod, pressing the shutter button can introduce a tiny bit of shake. Using the timer (set to 3 or 10 seconds) allows the phone to stabilize completely before taking the photo. You can find the timer option in the camera app settings (usually an arrow at the top of the screen reveals more options).
Here is the screenshot of this step:
Experiment with Different Settings: Don’t be afraid to try slightly different exposure levels and Night mode durations. The brightness of the aurora can change, so adjusting your settings can help you capture it best. I took dozens of photos with slightly varied settings to ensure I got a few good ones.
Here is the screenshot of this step:

Review and Adjust: After taking a photo, take a moment to review it. Is it too dark? Too blurry? Adjust your settings and try again. This iterative process is how I eventually got the shots I was happy with.
Here is the screenshot of this step:
My Tips for Success
- Patience is Key: The northern lights can be unpredictable. Sometimes they’re bright and dancing, other times they’re faint and still. Be prepared to wait.
- Keep Your Lens Clean: A smudged lens will make your photos blurry, especially in low light.
- Dress Warmly: If you’re out in the dark trying to photograph the aurora, it’s likely to be cold! Being comfortable will allow you to focus on taking photos.
- Consider a Remote Shutter (Optional): For even less shake, you could use a Bluetooth remote shutter if you have one.
Capturing the northern lights on my iPhone was an incredibly rewarding experience. It took some patience and understanding of my phone’s camera capabilities, but the results were truly breathtaking. I hope sharing my personal journey and these steps will help you capture your own stunning photos of this amazing natural phenomenon!
Related Reads: How Accurate Is Find My iPhone: My Step By Step Solution